
My dad approached me last year with the idea of a 2018 family vacation. I was all about it, but finding a place that would suit all five of our travel desires proved not easy. My dad, brother, and boyfriend prefer to relax on a beach for a week (plus the first two really want to scuba dive), while my mom and I enjoy going out and doing things. For my dad and brother living on the east coast, that usually means traveling to the Caribbean. Unfortunately the Caribbean is typically not very easy to get to (and expensive) from the west coast. I immediately thought of Belize, since it’s a little cheaper for us west coasters to get to, and about the same price for the east coasters. In Belize I found that there is a nice combination of both beaches and mainland things to do.
We stayed for a week, with most of our time on Ambergris Caye. My mom and I went inland to San Ignacio for two days and one night. Here’s my Belize rundown of what we did and some helpful hints. I will talk about money later on, but all $ is USD. We had a great time and I loved Belize. The people were friendly, I felt very safe, and it was a beautiful country with a wide variety of things to do.
Getting places
Ambergris Caye
To get to the Caye from the airport, you can grab a taxi to the water ferry terminal. The taxi price for two people was $25 and I believe $5 for every subsequent person. Ferry prices are on the website.
Once at Ambergris Caye, you can take a taxi to your accommodations if you are not staying in town. Our condo owner organized one for us and it was $30 for two people, $40 for all five of us. Once you’re at your hotel/condo/house, you can rent a golf cart. We found that Avis was the least expensive at $190 for 6 days (not including taxes). They will even deliver/pick it up for you! If you plan to cross the bridge on Ambergris Caye, it is $2.50 each way. Sometimes they’re there to collect the toll, sometimes they’re not.
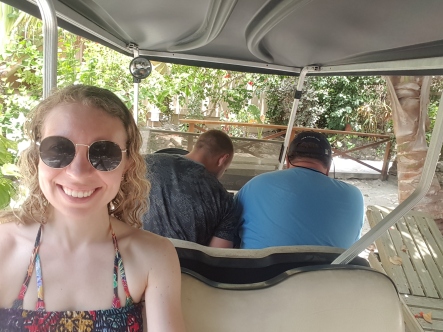
Trying to figure out how to use the golf cart.
San Ignacio
We used Ron’s Belize Shuttle to get to San Ignacio. They can pick you up from a variety of locations, and we were picked up from the water taxi terminal in Belize City. Our drivers were very nice and it was really easy to coordinate. One driver even helped us organize a taxi to get to Xuantunich. Price varies by how many people they have and I booked through the Belizing website (which, to be honest, was not the easiest platform to use).
Accommodations
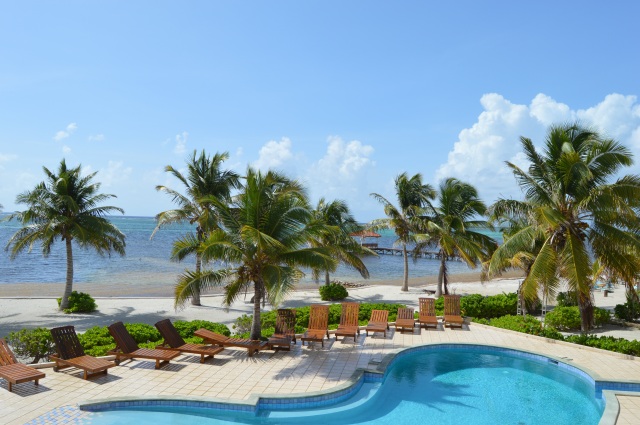
Ambergris Caye
We stayed at an Airbnb, about 2 miles across the bridge.
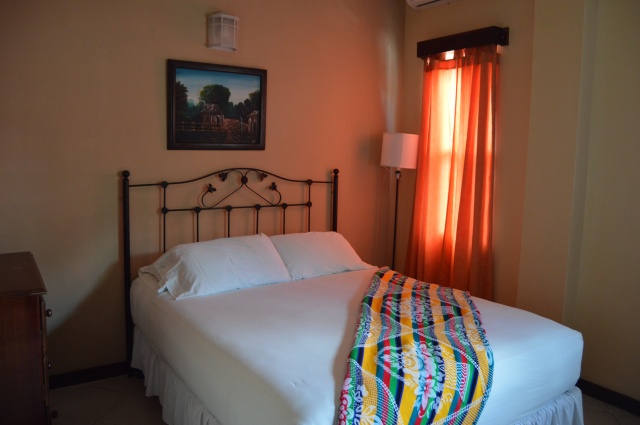
San Ignacio
We stayed at Martha’s Guesthouse. It was right in the center of town, which was great for our short trip. It was very clean and the room was really cute!
Things To Do
Ambergris Caye
Diving – The diving at Ambergris Caye is unbelievable. The Belize barrier reef is the second largest reef system in the world (after the Great Barrier in Australia!). We dived on this for one day and went to the Hol Chan Marine reserve for our second day. I was super impressed with the reef and I have never seen so many fish (of all different varieties) in my life at Hol Chan. For Hol Chan, you typically do a shallow (30-40 ft) dive at the reserve and then they take you to Shark Ray Alley to snorkel. If you don’t scuba, you can also snorkel the first part, so it is great for mixed groups. We all went on the same boat. At Shark Ray Alley, you can see some fish, but mostly very large nurse sharks, where you can get up close and personal with them. We used Sea Star Belize, and I would recommend. The crew and divemaster were friendly and very knowledgeable.
You can also dive the Big Blue Hole, but it is a very long trip to get there (3-4 hours) and a very short dive (8-10 minutes). We did not do this because it’s a very long trip for a short dive, and also very expensive. My dad had heard mixed reviews from other divers about it as well, so we skipped.

Secret Beach – Secret Beach is not really a secret anymore, and it’s becoming a popular spot. There are beach bars and it was pretty crowded (for the off-season). It is a bit of a trek to get to though. You basically take the main road all the way until you can make a left. Then you keep going on that road and finally you’ll hit the beach. From our condo location (which was 2 miles after the bridge), it took about 30 minutes via golf cart. Although a lengthy and bumpy trip, it was really cool because you can wade out into the warm water for at least 100 yards. You can take your drink in the water and they have some games there as well.


Go into town/Belizean Arts – Town was nothing special to be honest. We ate a few times in town and walked around a bit for souvenirs, but at night it gets a little crowded with people and golf carts. Belizian Arts was a really nice art shop that I would highly recommend making this your first stop for significant souvenirs (aka things that are not shot glasses, magnets, etc). I got a beautiful handmade pot.
San Ignacio
Xuantunich – My mom and I went here by ourselves (although you can take a tour). As I said, our shuttle driver arranged a taxi for us, but you can also find taxis in the city center. The taxi driver will drive you from San Ignacio straight to the Xuantunich parking lot (which involves crossing a really cool hand cranked bridge!). Ours waited for us while we walked around the ruins (about an hour and a half) and then drove us back to San Ignacio for $35 total. The whole thing took about 2.5 hours. Very cool experience and you can climb the ruins!


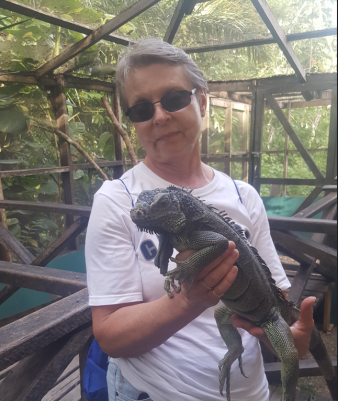
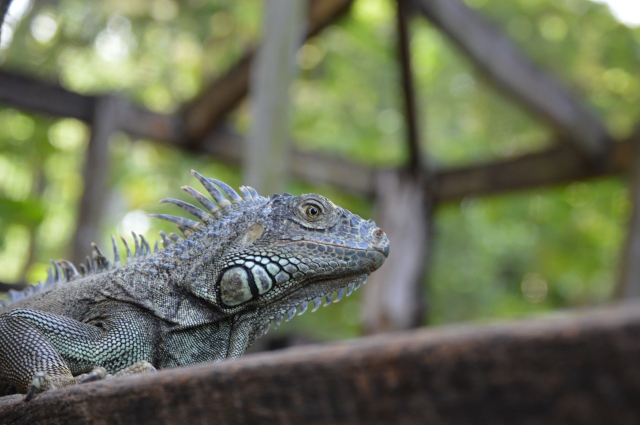
Ignaua Hatchery – At the San Ignacio Resort Hotel (which was a short 10 minute walk from Martha’s Guesthouse), there is an iguana hatchery/sanctury. They run tours on the hour and plan to spend about 45 minutes with the iguanas. You learn a lot about them and can even pick them up and feed them!
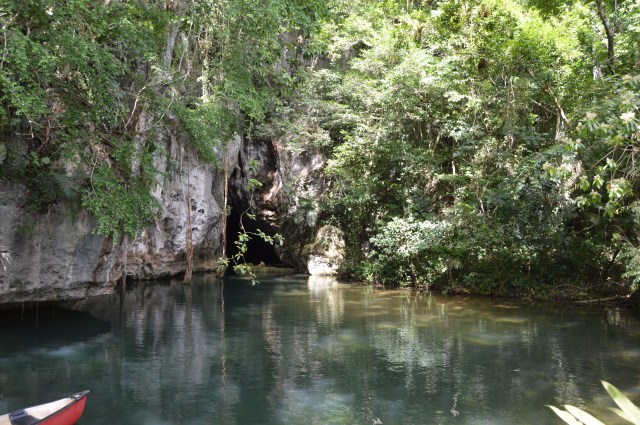
Barton Creek Cave tour – My mom and I took this tour and it was fantastic. We went through Kawaii Tours, and it was $85 each. Our tour guide was Pedro and he was great! It involves a very cool drive on a very bumpy dirt road to get to the cave. He picked us up around 8am and we were back in San Ignacio by 12:30pm. You go completely into the cave via canoe. Might not be good for those who are claustrophobic or afraid of the dark.


Butterfly sanctuaries – We did not have time to see these unfortunately, but there are two outside of the city that I read were very cool – Green Hills Butterfly Ranch & Chaa Creek Natural History Museum. (Note: Google maps says Chaa Creek is a 15 min drive, but our taxi driver said it is more like 45 mins because of the roads.)
Tours, tours, tours! – There are a whole bunch of tours you can take in San Ignacio. The most famous being the ATM tour, which is a day long trek into a famous cave. Possibly one of the most famous things to do in Belize. While my mom and I only did the Barton Creek Cave tour, the tour company we went with, Kawaii Tours hosts a whole variety of tours out of San Ignacio.
AJAW Chocolate and Crafts – In town. We did not take a tour, but stopped in for some chocolate. SO GOOD.
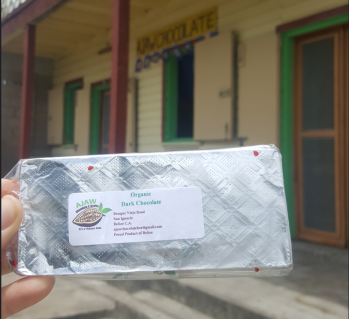
PS it was so hot/humid that this chocolate melted before we could even finish eating it.
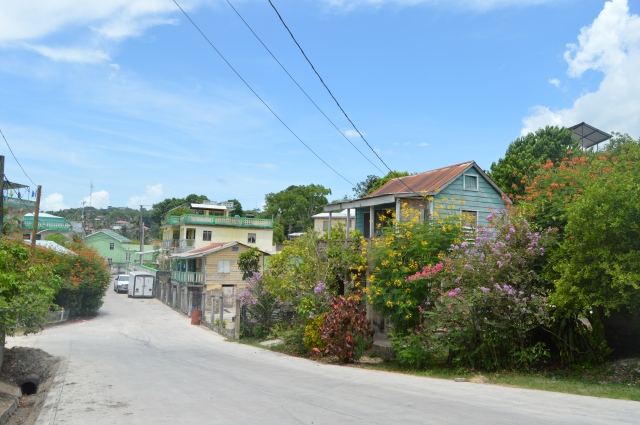
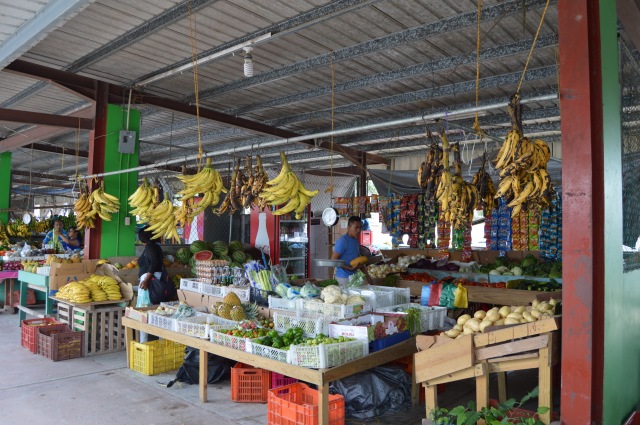
Walk around San Ignacio – San Ignacio is pretty small, but the town is beautiful and very colorful. There is also a market that has fresh produce and other handicrafts.
Places to eat
I found there were a lot of Mexican influences in a lot of Belizan food, and there was also a lot of seafood on Ambergris Caye. Stewed chicken, Belizian fried chicken, and Belizian rice and beans are must-try dishes as well. Try it all with some Marie Sharp’s hot sauce and be sure to wash it down with a Belikin, Belize’s famous beer! Apparently another “must have” drink is the Panty Rippah, but I only saw it on the menu at Palapa’s. It’s a simple, but delicious drink – pineapple juice and coconut rum. Yum! I won’t review all the places we ate at unless there is something to note. They were all delicious!
Ambergris Caye (over the bridge unless noted otherwise)
Paco’s – great quesadillas!
The Dive Bar
Croc’s
Aji
PUR Tacos
The Truck Stop – we only had ice cream, but they also do fun things like have live music and trivia nights
Wild Mango’s (in town)
Palapa Bar and Grill (in town) – probably my least favorite food-wise, but they have a really cool bar and area where you can float on the water in tubes and drink!


(from top left: Dinner at Wild Mango’s, drinks at Aji – no shortage of tropical drinks on the Caye!, Belizian rice and beans at The Dive Bar, The Truck Stop, Palapa’s from a distance)
San Ignacio
Pop’s – great for breakfast
Ko-Ox Ha Na (Let’s Go Eat)
Erva’s
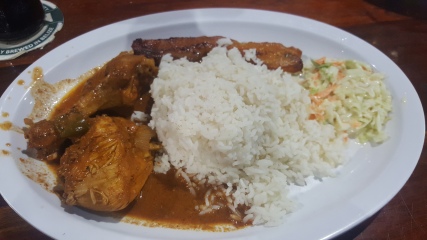
Stewed chicken with rice and beans at Ko-Ox Ha Na
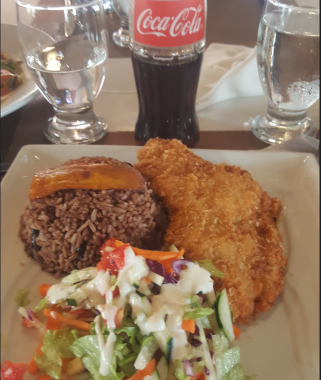
Belizian fried chicken + a coke at Erva’s
A Few Things to Note:
The Belizian dollar is tied directly to the US dollar and has been for many years. The cash conversion rate is two Belizian dollars to one USD in cash. Pretty easy. When it shows up on your credit card the conversion is a little more precise. I found that food and drinks were more or less the same prices as they are in major cities of the US on Ambergris Caye. San Ignacio was significantly cheaper. All places in Belize take USD or BZD in cash and most places take Visa credit cards. If you pay in USD, you will probably get BZD back.
We went the last week of July/first week of August. It was definitely the low season and not crowded at all, which was great. There was also a nice breeze (although two days were windy enough to cancel diving), and almost no bugs. With the exception of my boyfriend claiming a few potential bites, no one got bit.
Ambergris Caye has this stuff called sea grass that washes up on shore. From what people told us, there’s really no rhyme or reason to it; it just kind of happens year round, randomly. It can be stinky and may put a damper on your beach or swimming time.
If you read forums as recently as a few years ago, you’ll notice it seems that Belize has had some of the world’s worst WiFi. However when we were there I found that almost all places had WiFi, and solid WiFi at that. They have made great strides to increase their internet reach. Our condo particularly had great WiFi that my boyfriend was able to use to do work while we were there. San Ignacio also had surprisingly good WiFi as well at our hotel.
Please note: These are based off my own experiences and are not to be taken as absolute facts. As with anything in the world, things are subject to change at any time and your experience might not be the same as mine. Also, all of these pictures are my own and owned by me. Please contact me if you would like to use them.


 5. Once the glue is dry, pour your aquarium gravel into the bottom of the jar until the glued bottoms of the fish and plants are no longer visible.


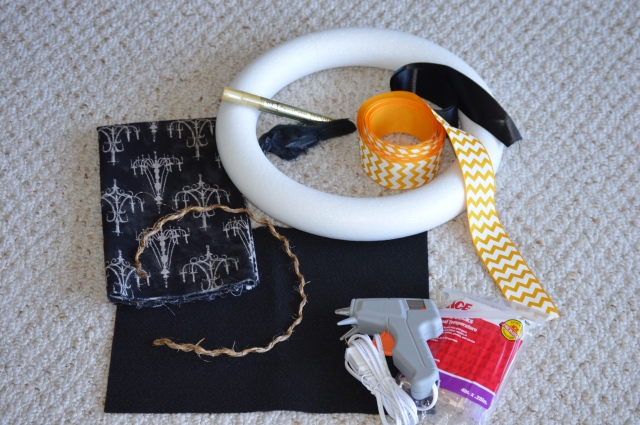 Styrofoam “donut circle” – 12in diameter


