Cactus and Succulent Terrarium

Terrariums are super popular these days, so about a year ago I set out to create my own!  I ended up creating two; one is a closed terrarium and the other is an open terrarium.  Today I’m going to be showcasing the open terrarium because it’s very easy to recreate, and I have recently!  The images below are from my second iteration of the same terrarium.  The first one was doing so well that I had to remove one of the cacti because it was getting too big for the bowl!  And believe it or not, it’s not the “bunny ears” cacti that I replanted in this new one.

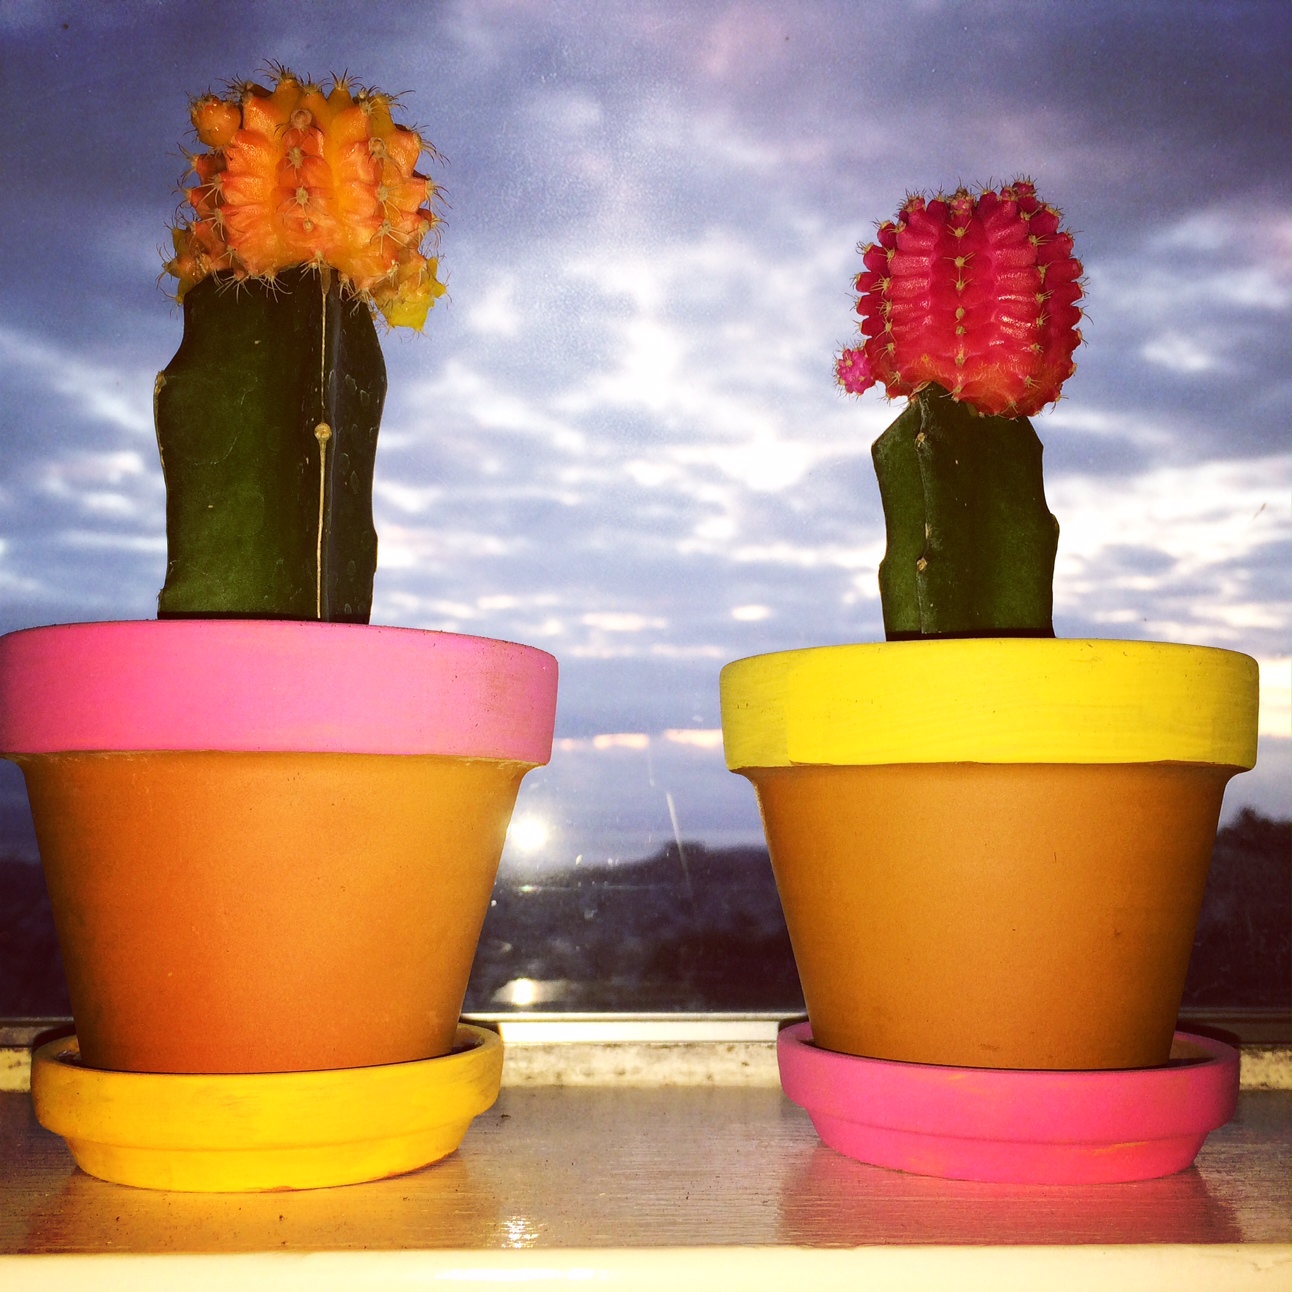
To start, you’ll need a terrarium bowl.  I was able to find the first and the second at local hardware stores here in San Francisco.  Both of these hardware stores sell some terrarium sized plants (and regular plants), so I would recommend checking out local hardware stores (like ACE Hardware branches) you know carry those supplies.  Plus, you’ll be able to grab a few terrarium plants while you’re there!  Second, you’ll need some pebbles for the very bottom of the terrarium.  You should also be able to find these at hardware stores.  Amazon.com is a great place to grab some as well.  Third, you’ll need some soil.  Fourth, some sand.  And lastly, the terrarium plants!  For open terrariums, I have found that small succulents and cacti work best because they prefer dryer soil and low humidity.  My closed terrarium has fern-like plants and I have not had to water in months!

3.28.15 import 077

The easiest way to put this together is rocks, some soil, the plants, more soil, and sand.  Once you water it for the first time, some of the soil will creep through the sand, so it will look kind of dirty. I usually combat this by adding some more sand after maybe the second watering.

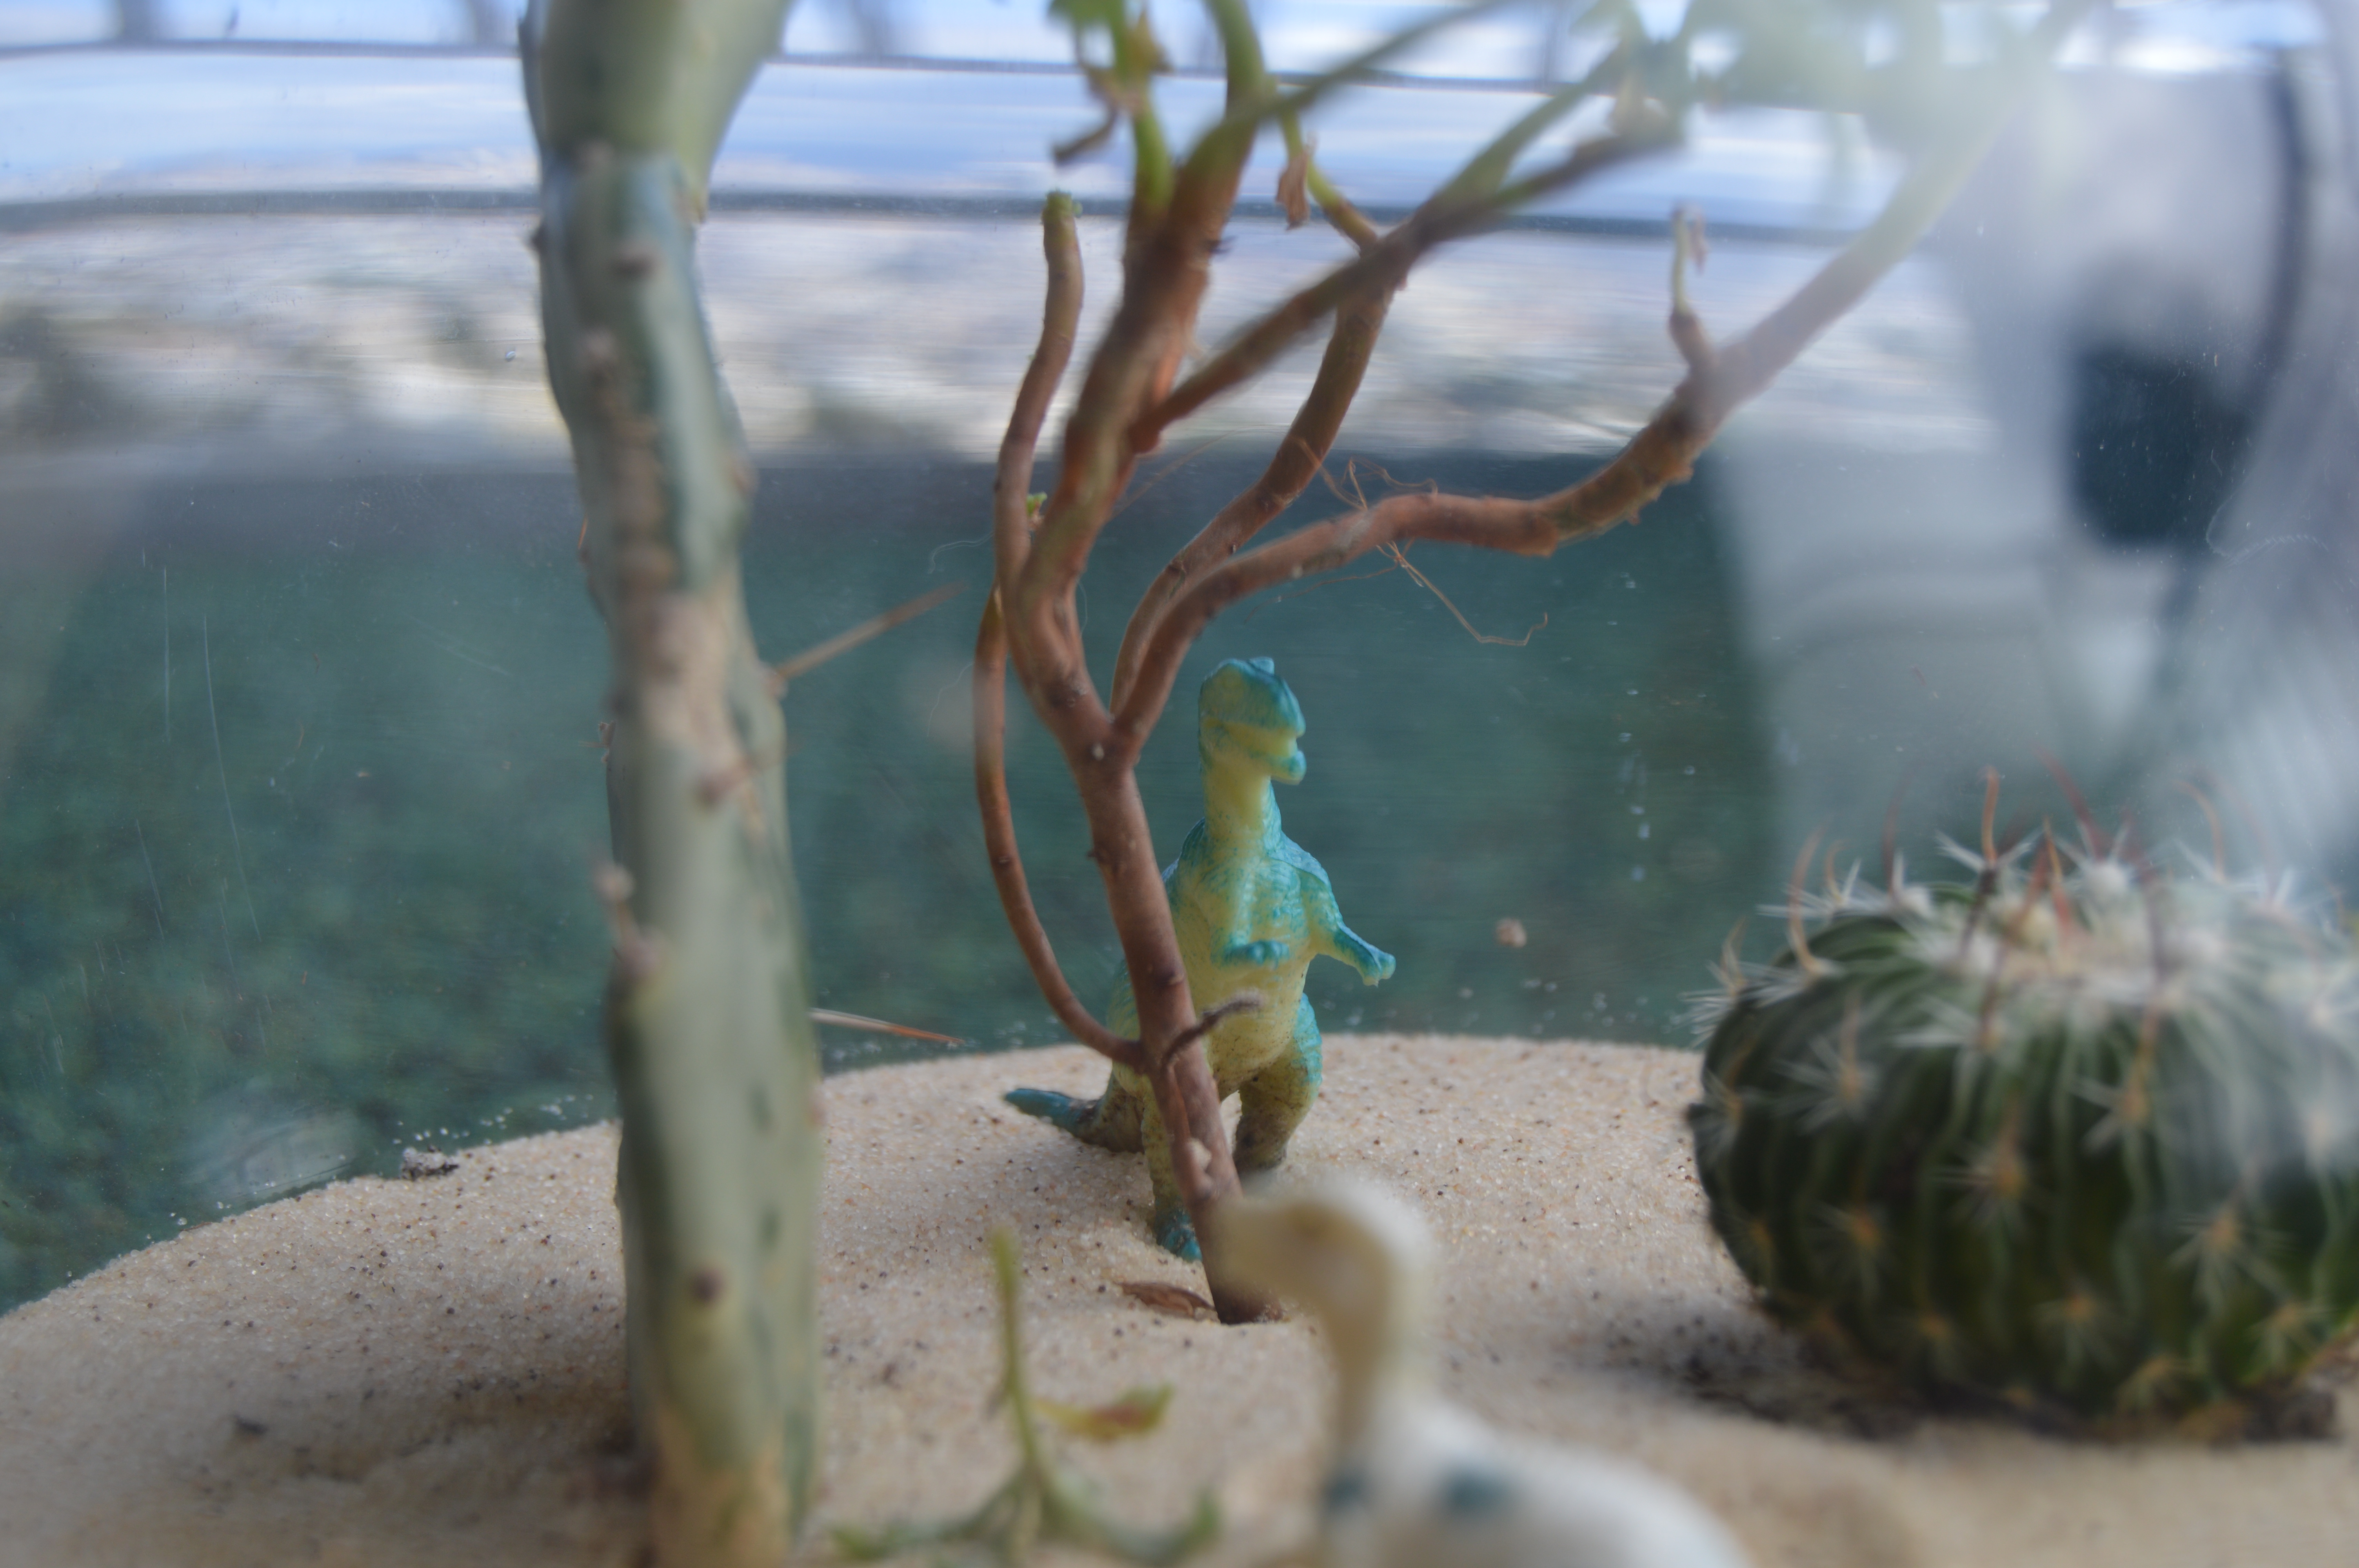
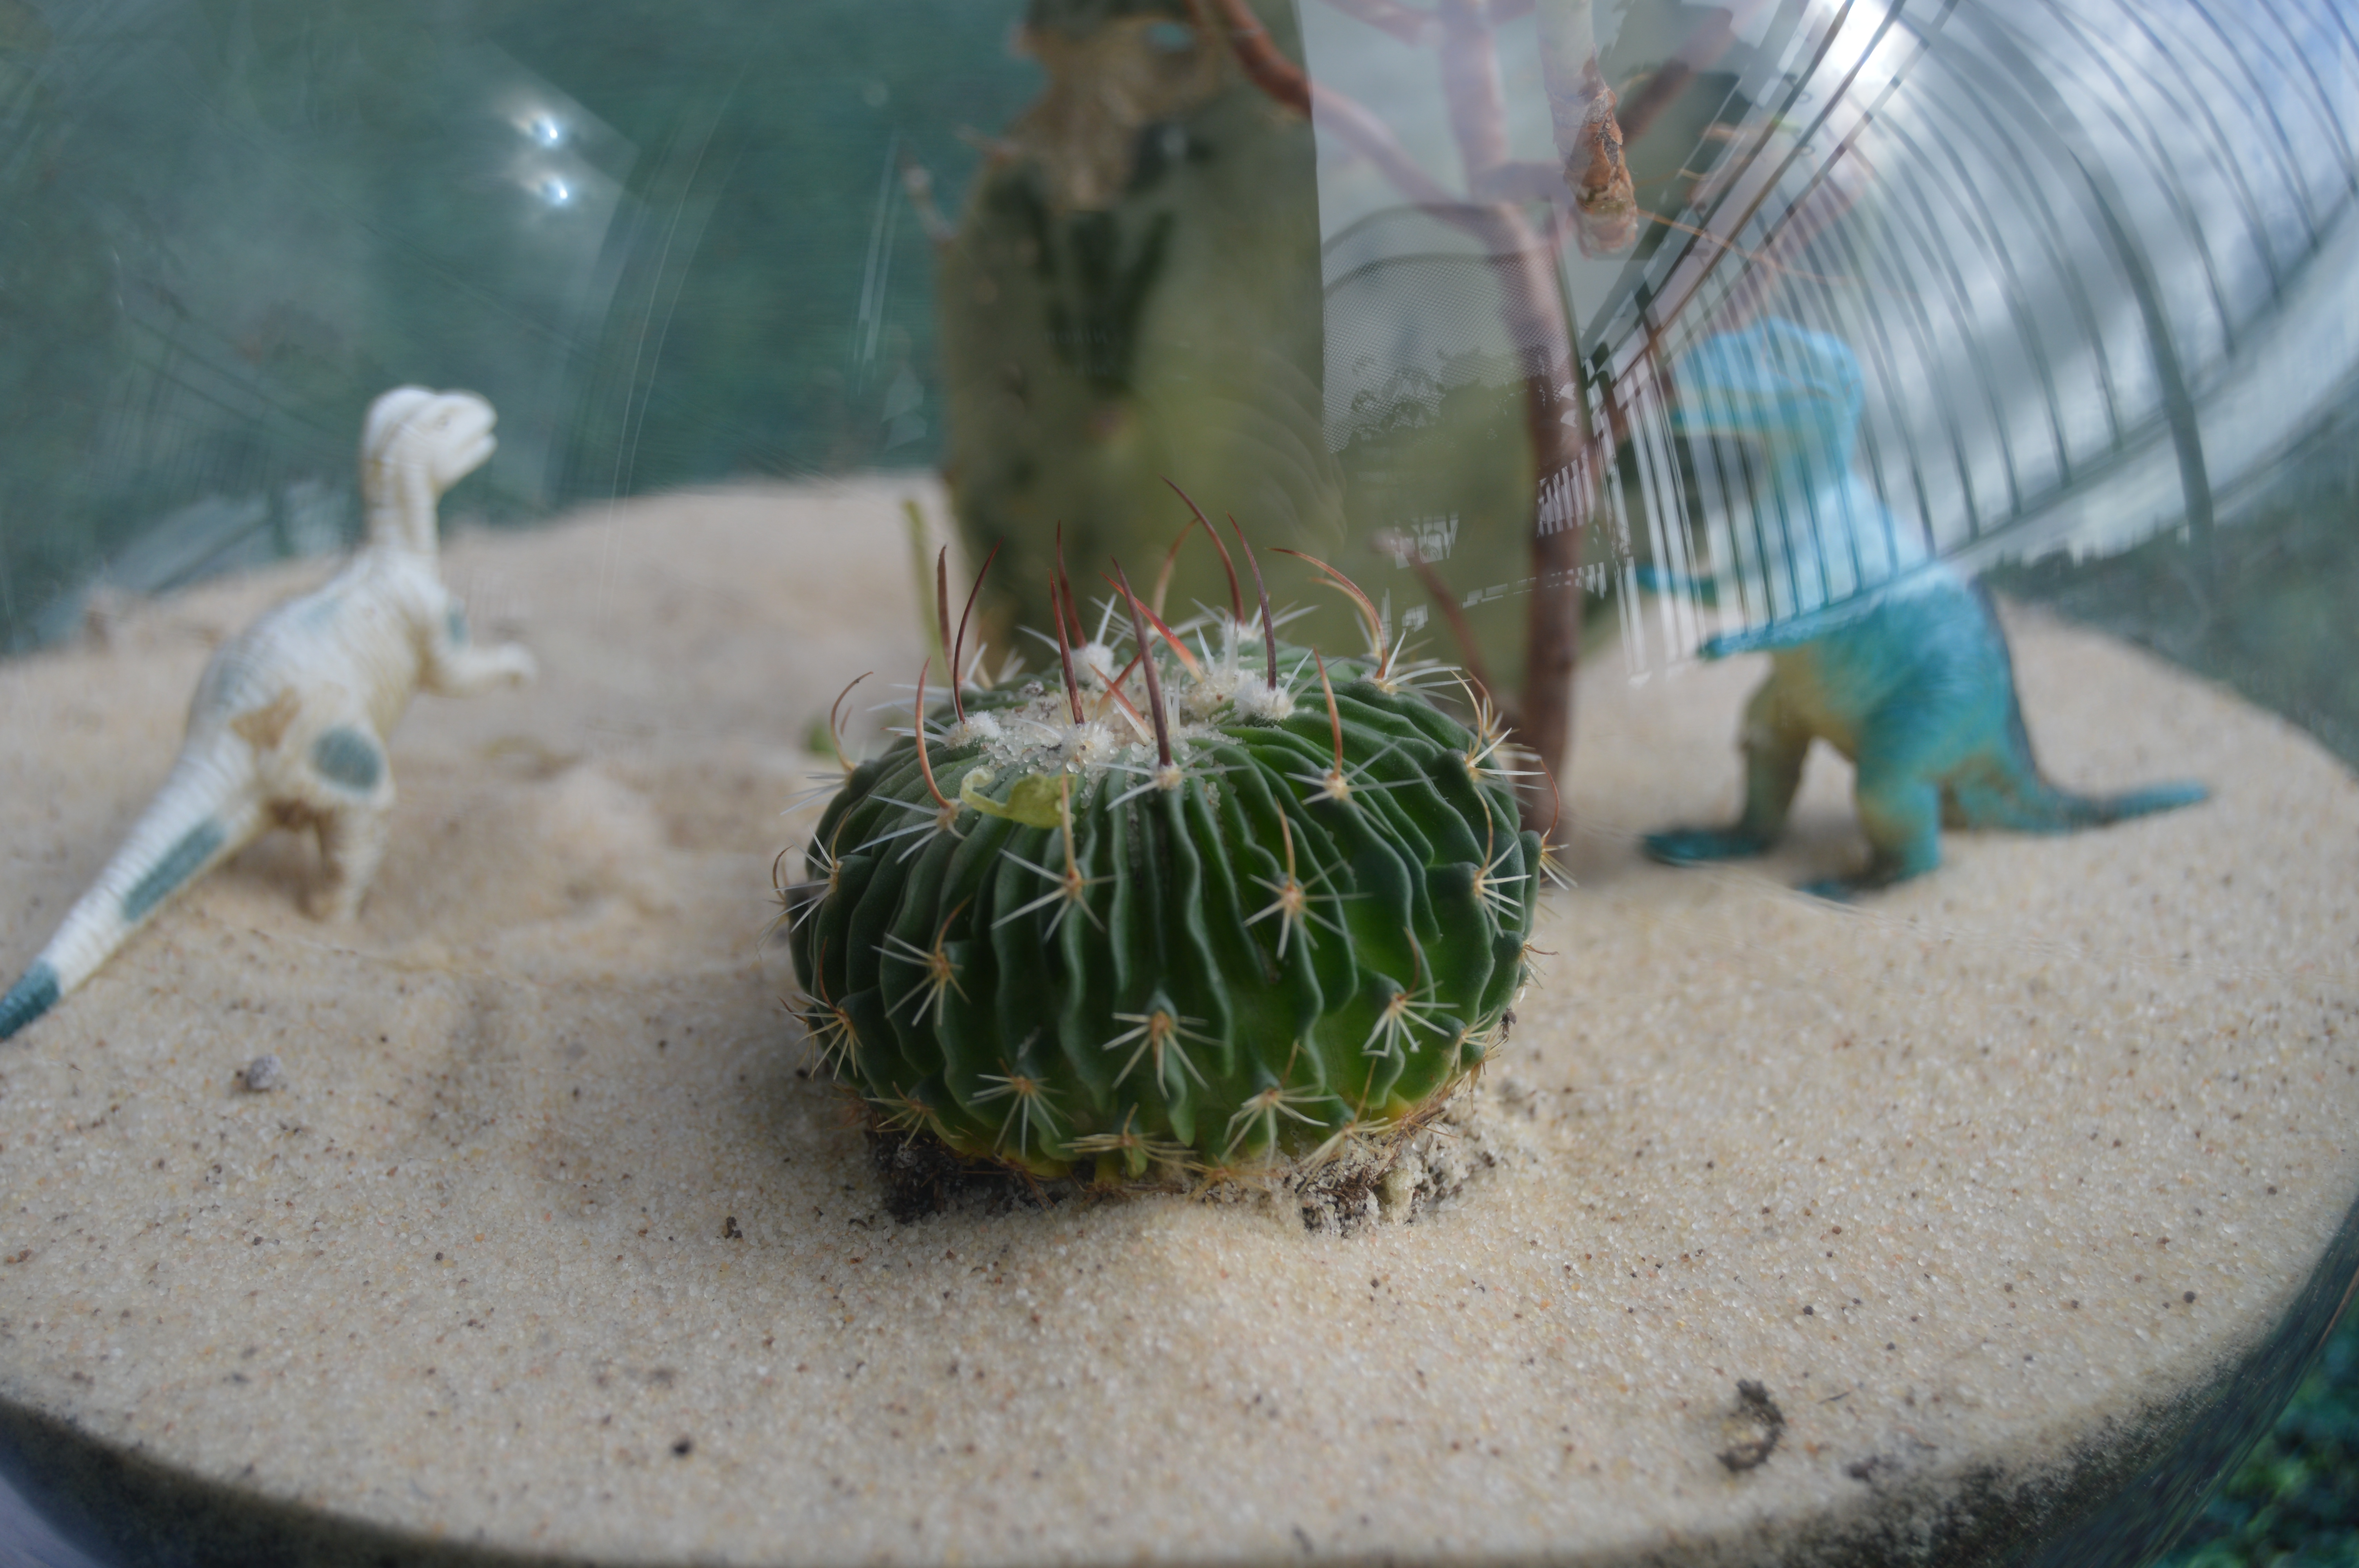
For last touches, you can add some dinos or any other terrarium creatures you please! I found these at Urban Outfitters in a package with some others (horses, gnomes, dogs, etc).  Novelty stores and dollar stores (in the kid toy/party favor sections) are great places to find these as well.

3.28.15 import 085

3.28.15 import 083

3.28.15 import 082

3.28.15 import 086

3.28.15 import 081 3.28.15 import 080


Terracotta Pot “Upgrade”

So this is nothing special really…just thought I’d post this cute idea (I think!) for some terracotta pots.  I bought these cacti from CVS for about $.40 (they were 90% off for some reason) and we all know I can’t resist a $.40 plant.  Anyway, I mixed and matched the color scheme to get the plant matching pink and yellow look.

Painted Terracotta Pots

DIY Ombre Pots

So as you will end up eventually noticing on this blog, I really love plants.  I can’t put my finger on what it is I like about them, but I think they bring a lot of life and decoration to a room.  My apartment has a balcony, so naturally I have put a lot of plants out there!  I was looking for an easy way to spice up the pots I have outside, since decorated pots can get fairly expensive, and I’ve been resorting to mostly terra cotta ones because they are super cheap.  However, having all terra cotta pots can get a little boring!  I’m sure that I saw this idea when cruising along Pinterest at some point, but I came up with the idea to spruce up some of my smaller terra cotta pots by giving them an ombre paint job.  It’s fairly easy and you definitely don’t have to be an artist to do it.

ombre pots 15

ombre pots

What you’ll need:
One terra cotta pot (this project will work best with small to medium pots and is best to start out with smaller and work your way up to medium)
Two 2 oz bottles (your color choice + white) of Acrylic paint (Folk Art & Americana are good brands!)
Paintbrush (smaller brush size – this is a good example)
Newspaper (so you don’t get paint on the floor/ground!)

Directions:
1. Begin with a plain terra cotta pot (this one is actually plastic, but works just the same!).  Lay down newspaper.

ombre pot 2

(^^Pot I used…sans newspaper.)

2. Squirt out a dollop of colored paint and white paint onto the newspaper.

ombre pot 5
3. Paint a ring/line the first layer of the colored paint around the bottom of the pot.

ombre pot 4

(^^This older lady is extremely impressed by my painting skills.)

4. Add a little bit of white paint to the colored paint and mix.  You might have to add more white paint or colored paint depending on how light/dark it gets.  You’re aiming for slightly less than a shade lighter.

ombrepot 5
5. Paint another ring right above (and every so slightly over the top of) the the previous ring.

ombre pot 8
6.  Repeat adding paint to make a lighter shade and painting above the previous ring until you get to the top.

7.  Let dry and your pot should have an ombre shade to it!

ombre pot 7

DIY Herb/Garden Markers

I’ve always been a big fan of plants and gardening, but I’ve never actually grown my own food.  I decided to take the plunge and start out with some basil, so I bought a variety pack of seeds at Home Depot.  They were only about $5, so relatively cheap if things don’t work out.  Basil is amazing took cook with and the pack came with Cinnamon, Italian, Lemon, and Thai.  I can’t decide which I’m most excited about; I use Italian basil on a regular basis, Thai basil will enable me to enhance some amazing Thai dishes, and I’ve never used the other two, so I’m really excited to try them out!

Now, with four different types of basil that will probably all look the same, I was going to need a way to differentiate which is which.  I had a bunch of old corks lying around (I’ve been collecting them for show and reasons like this), and with some pinterest inspiration, my DIY Herb/Garden Markers were born.

unnamed (1)

All you need:
Corks (how many depends on how many markers you need)
Permanent Pen/Marker
Your seeds/plants/and all the fixins for that

How to do it:
The process is incredibly simple (as I’m sure you’ve figured out)…all you need to do is plant your seeds (I don’t have an actual garden, so they are in a rectangular pot), write the name of the specific plant or type of plant on the cork, and put it in the appropriate spot!  I split my seeds up into four square sections in this pot, so I put the marker where each one ends.  Voila! You have your markers.  You can also add sticks to them, too if you want them to pop up more.  I would recommend using kebab skewers cut in half.

unnamed

unnamed (2)